Use Form Responses from Pupsai to Send Messages in Slack
To get started, you must have:
- A Pupsai account. If not, please refer to Register for Pupsai.
- You’ll also need to be subscribed to Pupsai. Please refer to Subscribing to Pupsai.
- A Zapier account. If not, please refer to Sign-up for Zapier.
- A Slack account. If not, please refer to Create a Slack Account
Creating a Form Response in Pupsai
- Please refer to How to create a Form Response.
Connecting Pupsai to Pull the Data
- In a new tab, login into your Zapier account. Click here for reference.
- From the left navigation menu, select the “Zaps” menu item.

- Click the “Create Zap” button. You will be redirected to a page resembling the one below:

- In the top left of the window, click in the “Name your zap” section and type a meaningful name for zap.
- In the “When this happens …” section, start typing “Pupsai” in the “Choose App & Event” search bar.
- Select the Pupsai icon when it appears on the screen.
- From the “Choose Trigger Event” drop down list, select “New Form Response”.
- Click the “Continue” button.

- From the “Pupsai (1.0.0) account” drop down list, select your Pupsai account.
- If you are not seeing your account that means you are not signed into your Pupsai account. To do so, select “+ Add a New Account” from the bottom of the drop down list.
- You will be redirected to sign into your Pupsai account. Click here for help logging in.
- Once logged in, you’ll be redirected to your Pupsai dasboard. Close the tab and head back to the create a new zap page.
- For a second time, select “+ Add a New Account” from the bottom of the drop down list.
- You will be redirected to Pupsai.com, where Zapier will request permission to access your account.
- Click the “Authorize” button to continue. You’ll be redirect back to the create a new zap page.
- Click the “Continue” button.
- From the “Request Process Form” drop down list, select the desired form response.
- If you are not seeing the desired response, select the “LOAD MORE” button.
- Click the “Continue” button.
- You’ll be redirected to the “Find Data” section to test that your form response was created successfully pulled from your Pupsai account.

- Click the “Test trigger” button.
- If the form response was successfully pulled from your Pupsai account, you should see a “We found a form response!” message onscreen.
- At the bottom of the screen, you’ll see a box with “Zap is ready – now turn it on!”
- Click the toggle button to turn the zap on.
- To exit, use the back arrow in the top left of the window.
Connecting Slack Channel to Send Message
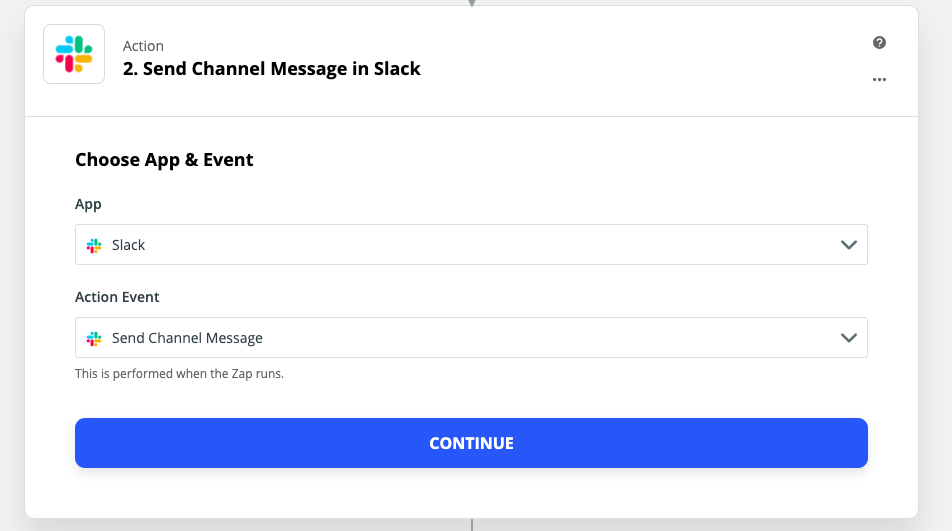
- In the “Action” section, start typing “Slack” in the search bar.
- Select the Slack icon when it appears on the screen.
- From the “Action Event” drop down list, select “Send Channel Message”.
- Click the “Continue” button.
- Click the “Sign in to Slack” button. You will be redirected to sign into your Slack account.
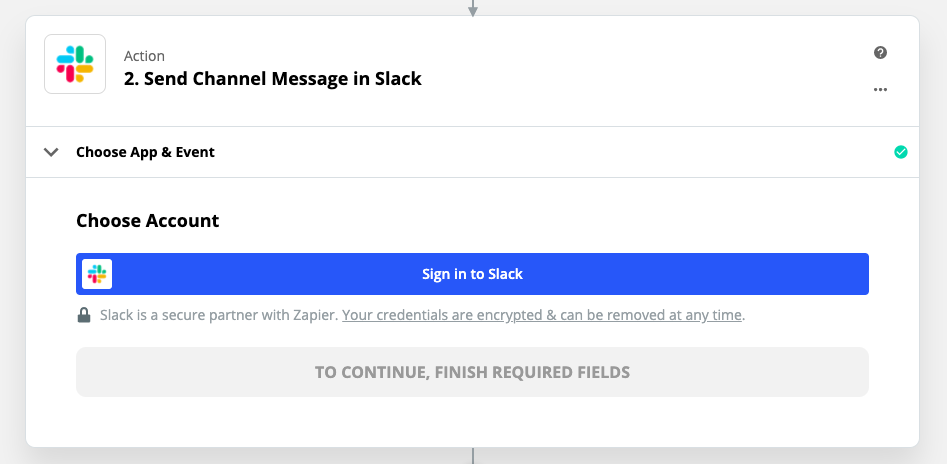
- After successfully signing into your Slack account:
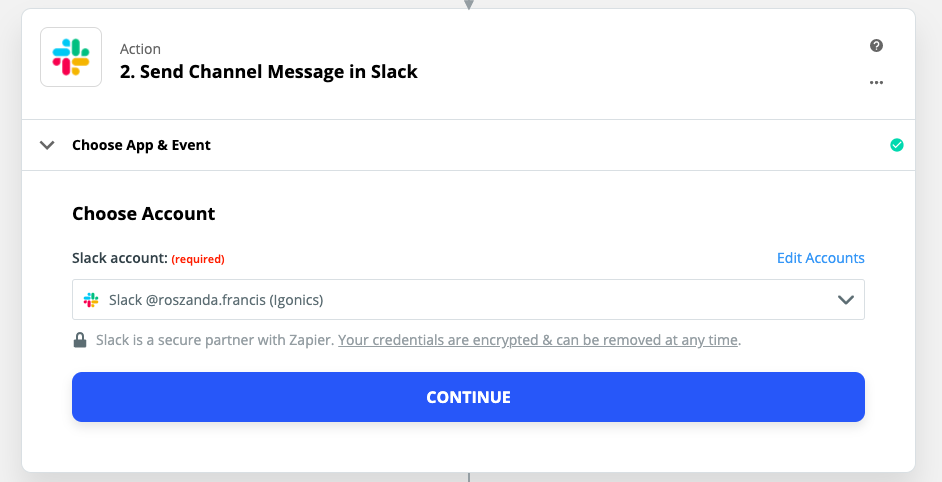
- Choose your Slack account from the “Choose Account” section.
- Click Continue.
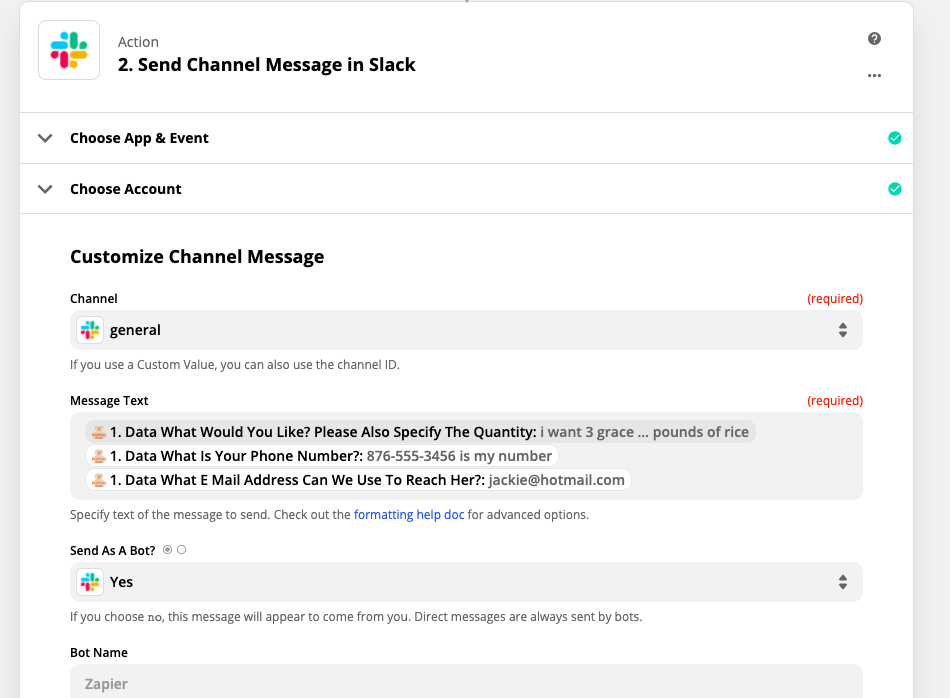
- In the “Customize Channel Message” section:
- Add your desired channel.
- Add the fields from Pupsai that you desired to compose your message.
- Customize the remaining fields as desired. See picture below for an example.
- Click the “Continue” button. You’ll be redirected to the “Send Data” section to test that your slack message was connected successfully.
- Click the “Test & Continue” button.
- If successfully connected, you should see a “Test was successful!” message onscreen.
- At the bottom of the screen, you’ll see a box with “Zap is ready – now turn it on!”
- Click the toggle button to turn the zap on.
- To exit, use the back arrow in the top left of the window.
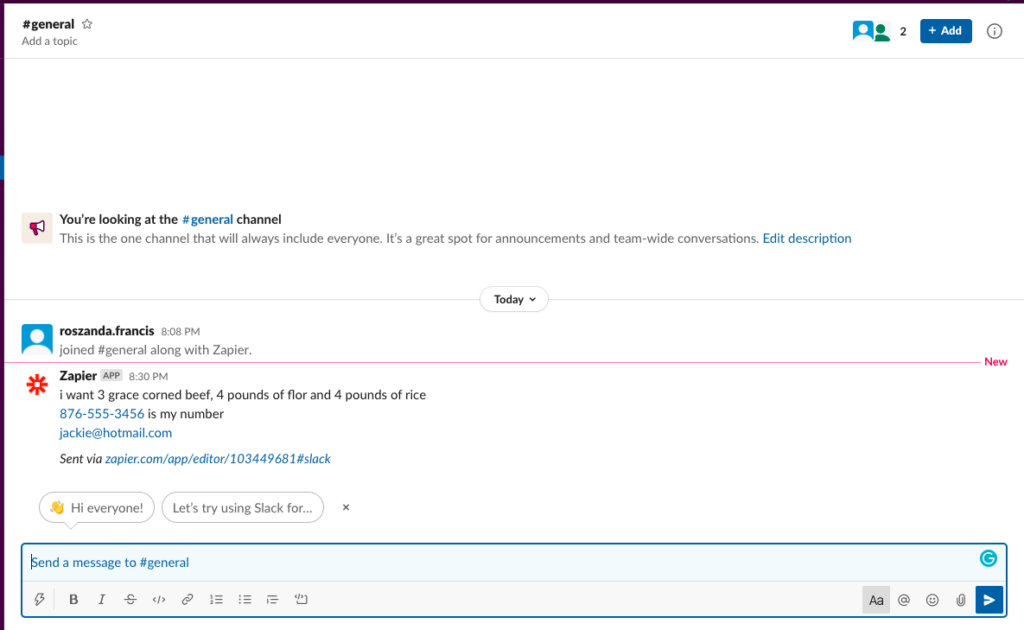
Verifying the Form Response was Saved in Trello
- Open the slack account you used to create the zap.
- You should see the sent message similar to the one below
Automatically Sending Slack Messages
Now that the zap is activated, once a form response was triggered in your Pupsai account, Zapier will automatically send slack messages with the form response.